
There is a partner dialer in the application for managing all partners and internal entities. The difference between Internal Entity and Partner is in the settings option where you add the partner option that it is an internal entity, therefore the company that runs your application. Internal entities are then offered, for example, as a customer in the Purchase Orders module or in the Invoices Received module, as a supplier in the Invoices Issued module (i.e. the company from which the invoices are issued). There can be more than one internal entity, especially in cases where there is a holding company or where the companies are somehow linked to each other. The list of internal entities and the option to create an internal entity (Partner that will already have the Internal entity option selected in the settings) can be found in Administration menu > Users, roles and groups > Internal entities.

If you already have your company in the system and it does not have the Internal entity option in the settings, do not create it again via Administration menu > Internal entities, you would create a duplication. In this case, just track down your company in the partner overview and edit its settings to add the Internal Entity option. You need to output the partner overview to the left menu as a link to the form 5503: Partner Overview (partner_list.aspx).
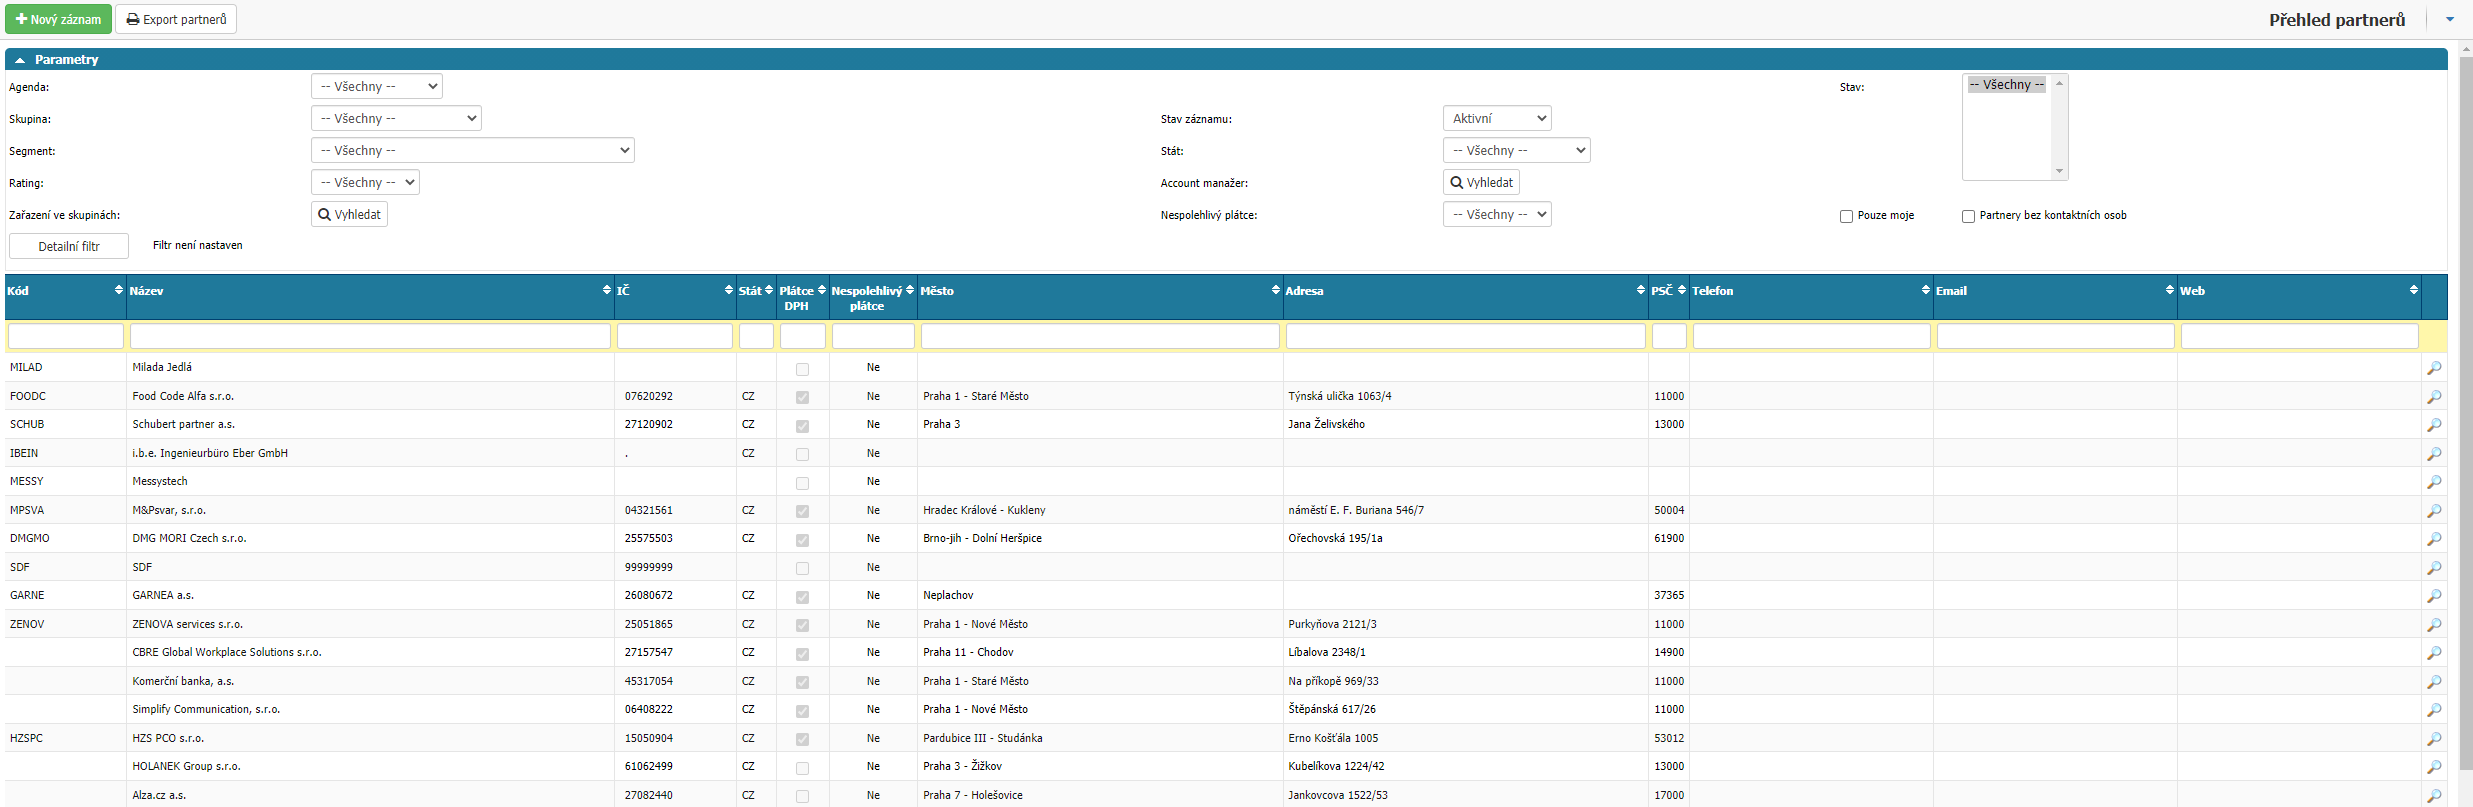
Overview
In the overview you will find all the companies that are established in the application. You can filter:

- Agenda - possibility to filter by agenda.
- Group - filtering option by group. The options are Supplier, Customer and Manufacturer.
- Segment - by segment you can set for the partner.
- Group Assignment - filtering by the group assignments that the partner has set.
- Record Status - filtering only active partners.
- State - filtering by state.
- Account Manager - filtering by the assigned Account Manager.
- Unreliable Payer - filtering by the Unreliable Payer flag.
- State - filter by workflow state if you have an agenda selected in the filtering.
- My Only - option to filter partners where the user is added in the Our Employees in Contact with Partner section.
- Partners with no contact persons - filtering of partners who have no user in the Our employees in contact with partner section.
If you have opened the report via Administration Menu > Internal Entities, then there is no filtering option and you will only find Internal Entities in the list, everything else is the same.
The overview is divided into columns:

- Code - partner code.
- Name - name of the partner.
- Number - partner's ID number.
- State - the state that the partner has set in the company's registered office address.
- VAT payer - flag whether the partner is a VAT payer.
- Unreliable taxpayer - flag whether the partner is marked as unreliable taxpayer.
- City - the city that the partner has set in the company's registered office address.
- Address - the address that the partner has defined in the address of the company's registered office.
- Zip code - the zip code that the partner has defined in the address of the company's registered office.
- Phone - phone number that the partner has defined in the Main contact section.
- Email - email address that the partner has defined in the Main Contact section.
- Web - URL address that the partner has defined in the Main Contact section.
- Column - the option opens the settings of the selected partner.
New record

This option opens the option to set up a new partner in the application.
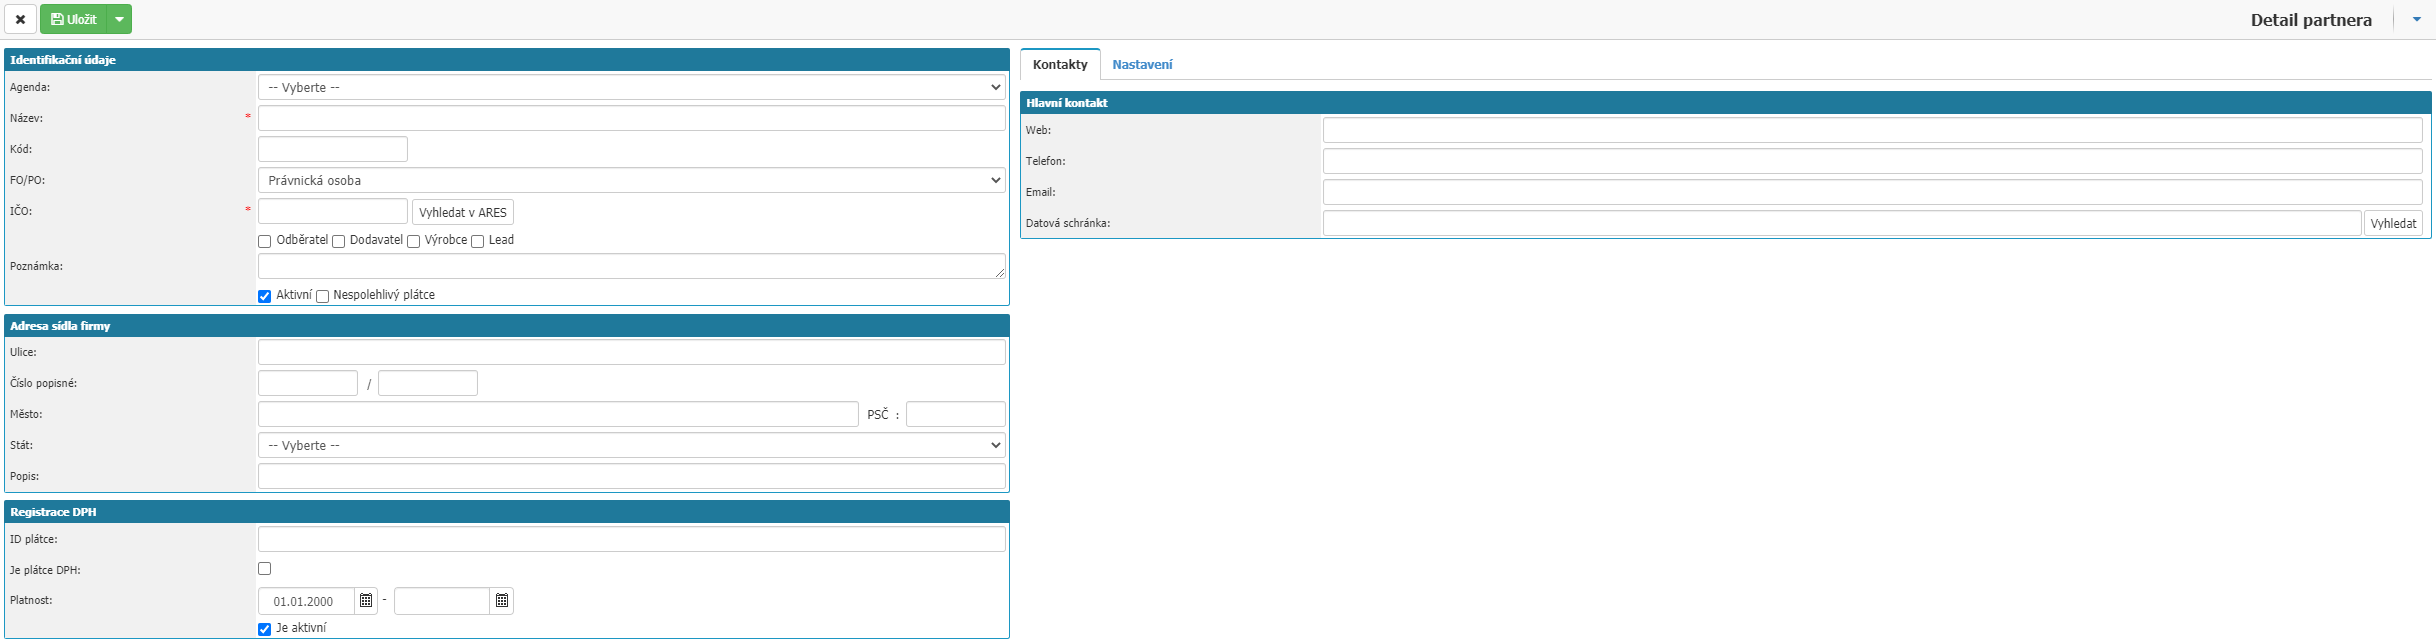
Identification data
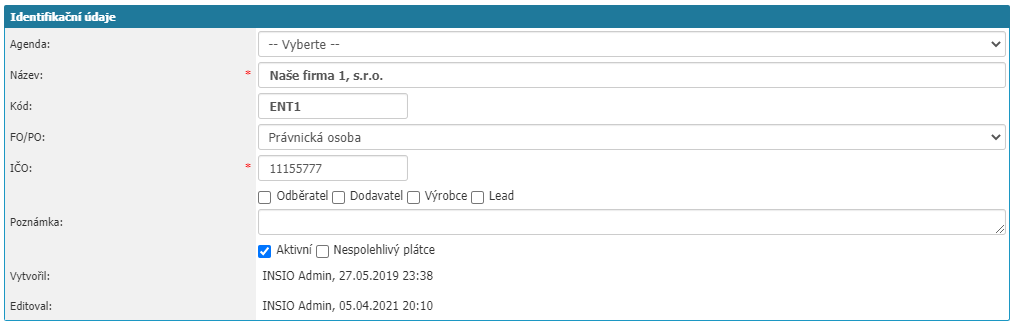
In this section you can find the settings:
- Agenda - option to assign an agenda to a partner.
- Name - name of the partner. The value is mandatory.
- Code - partner code.
- FO/PO - option whether the partner is a Natural person - entrepreneur/non-entrepreneur or a Legal person.
- NUMBER - partner's number. The value is mandatory if the partner is a Natural Person - Entrepreneur or a Legal Entity
- Search in ARES - the option searches the basic data of the partner in ARES by the ID number. The ID number must be in the ARES database.
- Customer, Supplier, Manufacturer, Lead - options to categorize partners.
- Note - option to enter a note about the partner.
- Active - option whether the partner is active.
- Unreliable Payer - flag for partners whether they are unreliable payers.
Company registered office address

In this section you can set the address of the partner's company headquarters, there is also an option to enter your own description.
VAT registration

In this section you can set up a new VAT registration via the New record option:
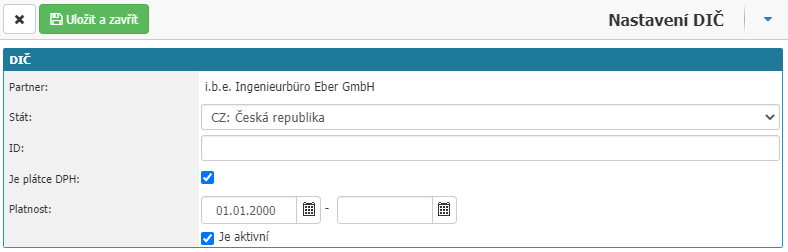
- Payer ID - define the VAT ID or VAT ID in the value.
- VAT taxpayer - select whether the partner is a VAT taxpayer.
- Validity - set from when to when the VAT registration is active.
After saving the settings, the next section will become available.
Workflow

If the partner has an agenda that has a workflow in this section, you can scroll through the workflow statuses and write notes on the workflow.
Linked entities

In this section you have the option to set a parent or subordinate entity/partner.
You can set up a new link via the New Record option, which opens the settings window:
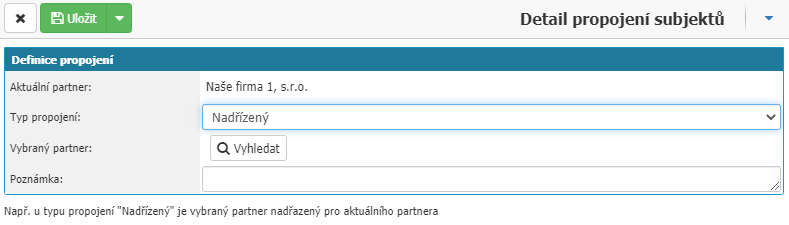
- Link Type - the option to choose between Supervisor or Subordinate. For example, for the link type Parent, the selected partner is the parent of the current partner.
- Selected partner - via the Search option, a list of available partners with which you can create a link will open.
- Note - option to write your own note on the connection.
- Save - the option saves the settings.
- Delete - option is available only after saving the settings. The option deletes the link.
Next in the section you have a list of existing links and for each entry in the list on the far right you will find a Magnifier option, through which you can change the settings of the link.
Bank accounts

In this section you will find a list of the partner's bank accounts. The option show active will only show active bank accounts with the partner. Select New record to set up a new bank account, the option will open the settings window:
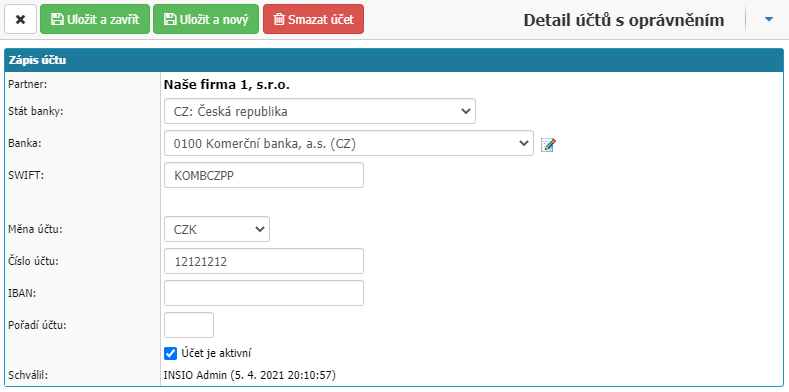
- Bank State - choice of bank state.
- Bank - select the bank from the bank dialer in the application. By selecting the edit icon next to the pick sheet you can click to the bank dialer and create a new bank in the dialer.
- SWIFT - SWIFT code of the bank.
- ACCOUNT CURRENCY - selection from the Currency dialer in the application.
- Account number - account number.
- IBAN - IBAN of the account.
- Account order - option to define the order of the account, in case the partner has multiple accounts. The order will then affect the order of the account, for example for invoices, it will also affect which account will be selected before the partner. You can define the order numerically, we recommend numbering by ten for example 10, 20, 30...
- Account is active - option whether the account is active.
- Approved - information whether the account is approved. If the partner does not have an agenda, the approval of the account will be done automatically at its creation. If the partner has an agenda, then the approval of the account is tied to the permissions that the user must have assigned, then that user approves bank accounts at the partner.
In the overview section you can find the accounts of the partner, if you want to edit the settings of the account or approve it just left click on the selected account and the settings window will open. Accounts cannot be deleted via partner settings, you can only set the account as inactive. All unapproved accounts in the list are marked in red.
Contacts
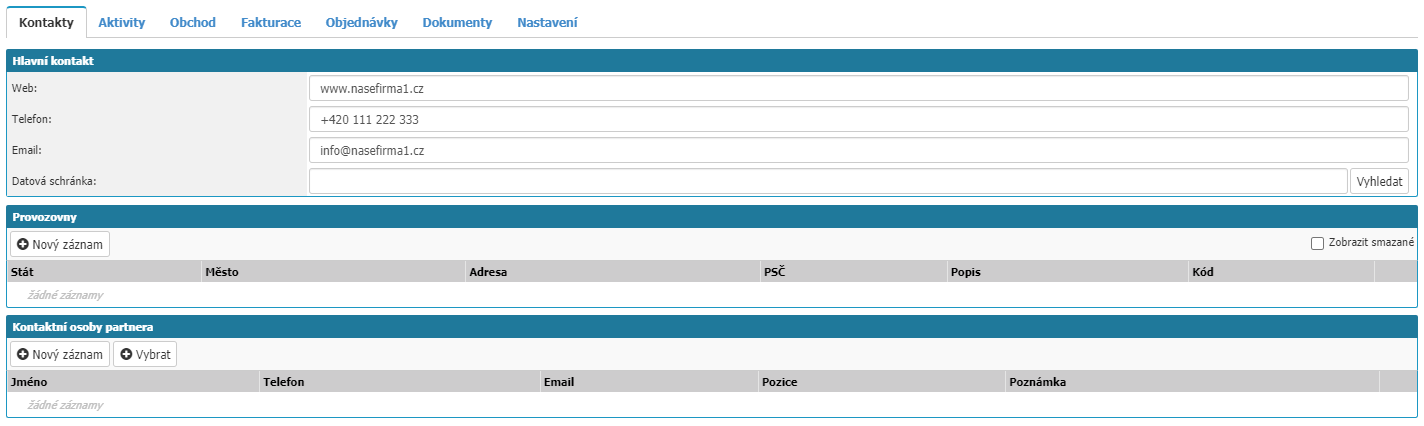
In the tab you will find the sections Main contacts, Establishments and Contact persons of the partner.
Main contacts

- Web - option to enter the URL address of the partner's website.
- Phone - option to enter the partner's phone contact.
- Email - option to enter partner's email address.
- Data mailbox - option to enter the partner's data mailbox. Using the search option on the right, you can search for a data box by ID number.
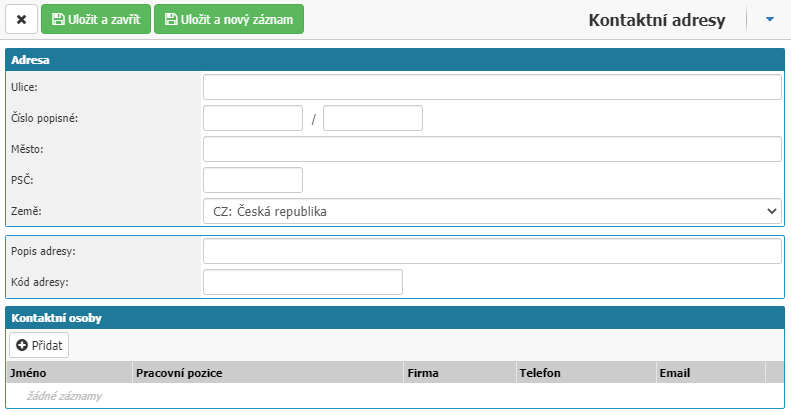
Establishments

In this section you can define the addresses of individual establishments. By selecting New record, a window for setting up a new establishment for the partner opens, where you can define the address of the establishment, its description, code and assign contact persons from the list of users in the application.
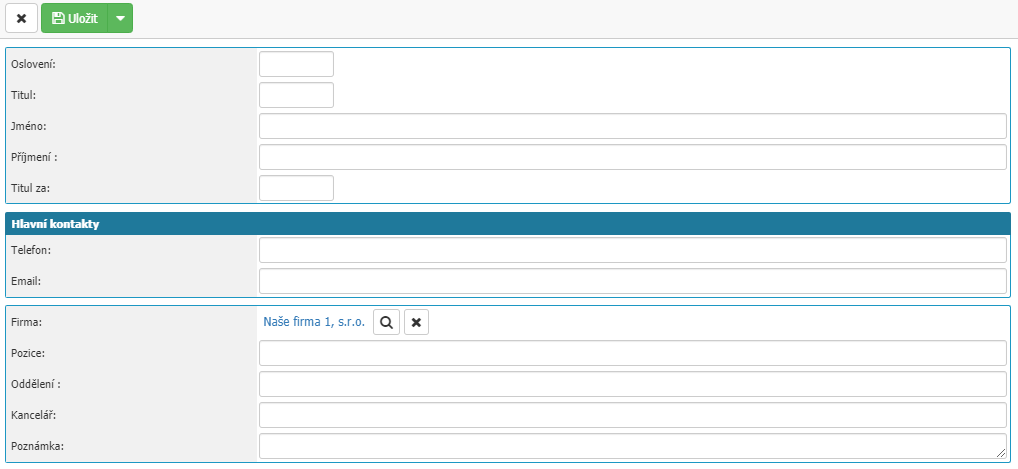
Contact persons of the partner

In this section you can set the contact persons of the partner. Use the New record option to create a new contact person, the option opens the settings window.
You can use the Select option to assign an existing person in the application as a contact person for the partner.

Activities

In the tab you will find the option for communication, event creation and note writing. In order to send emails, you need to have an agenda assigned to your partner, who has an email box assigned in the settings. In the activity overview you can filter by Communication, Events, Notes and by Date. The report is divided into columns:
- Date - the date when the email, event or note was created in the application.
- Person - the user who created the email, event or note.
- Subject - the subject of the email, event or note.
Business
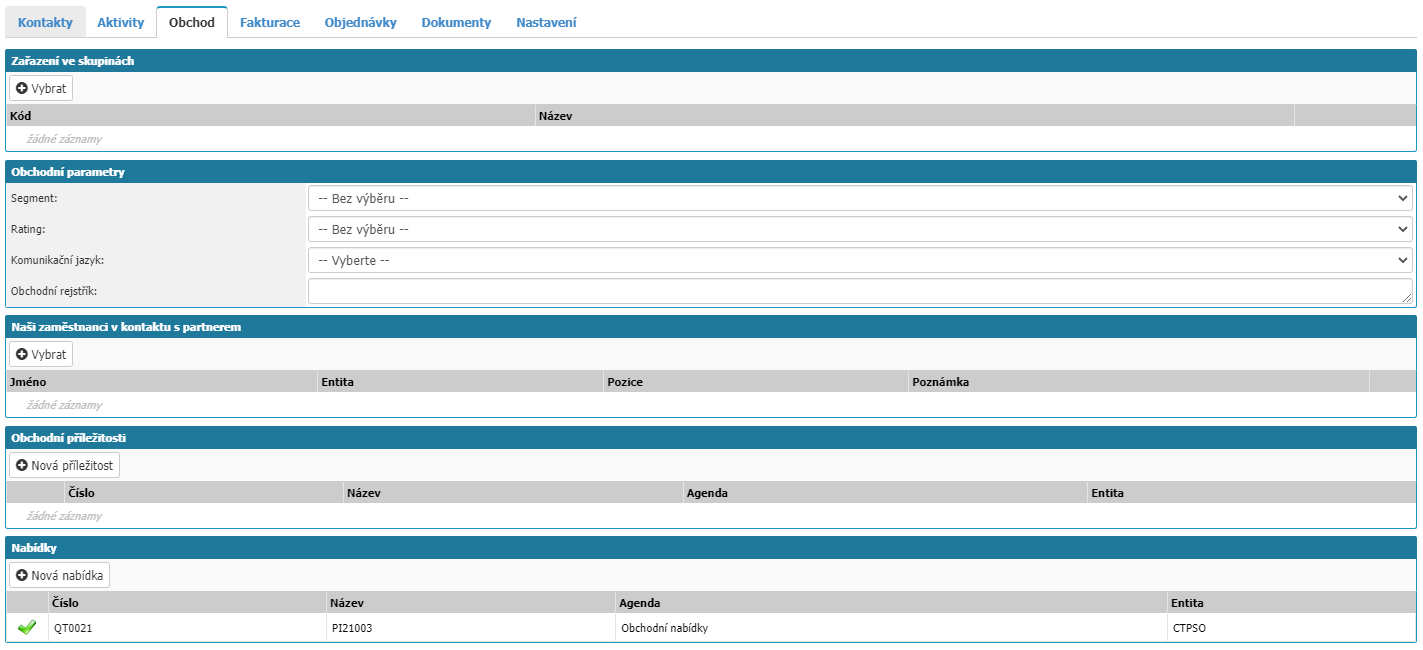
In the partner's business information tab, such as Business Parameters or here you can also find the partner's Offers and Business Opportunities.
Group Classification

In the section you can assign a user-defined group to partners. The select option opens a list of all already defined partner groups in the application, if you have not created any group yet, then you can create a partner group in this overview via the New record option. For a partner group, only the Code, Name and the flag whether the group is active are defined. If you want to remove the Groups assignment for a partner, left-click on the trash can icon in the list of assigned groups.
Business parameters

- Segment - possibility to assign a segment to a partner.
- Rating - option is currently not functional.
- Communication language - selection of communication language at the partner, if set, all press reports and templates sent to the partner from the application try to send in the set language (there must be a language version of the press report or template in the application).
- Trade Register - option to enter a value from the trade register, this is then automatically added to the print reports that will have this value set and the print report will be created under the given partner.
Our employees in contact with the partner

In this section you can add people who are in contact with your partner.
Business Opportunities

In the section you will see all the Business Opportunities on the given partner. By selecting New Opportunity you can create a new Business Opportunity that will have a pre-populated customer for that partner.
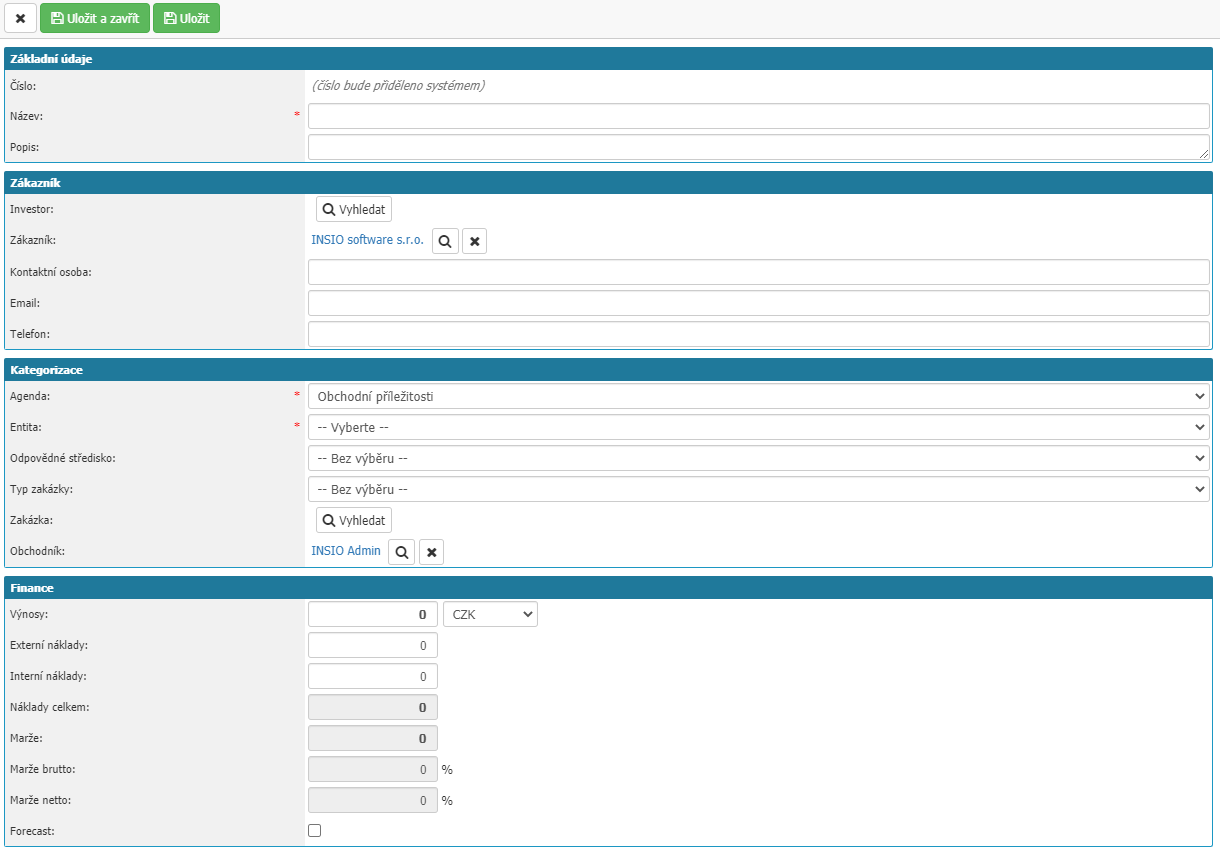
To open a Business Opportunity, left-click on the name of the Business Opportunity.
Offers

In this section you will see all the Bids for that partner. By selecting New Offer you can create a new Offer which will have a pre-populated customer of the given partner.
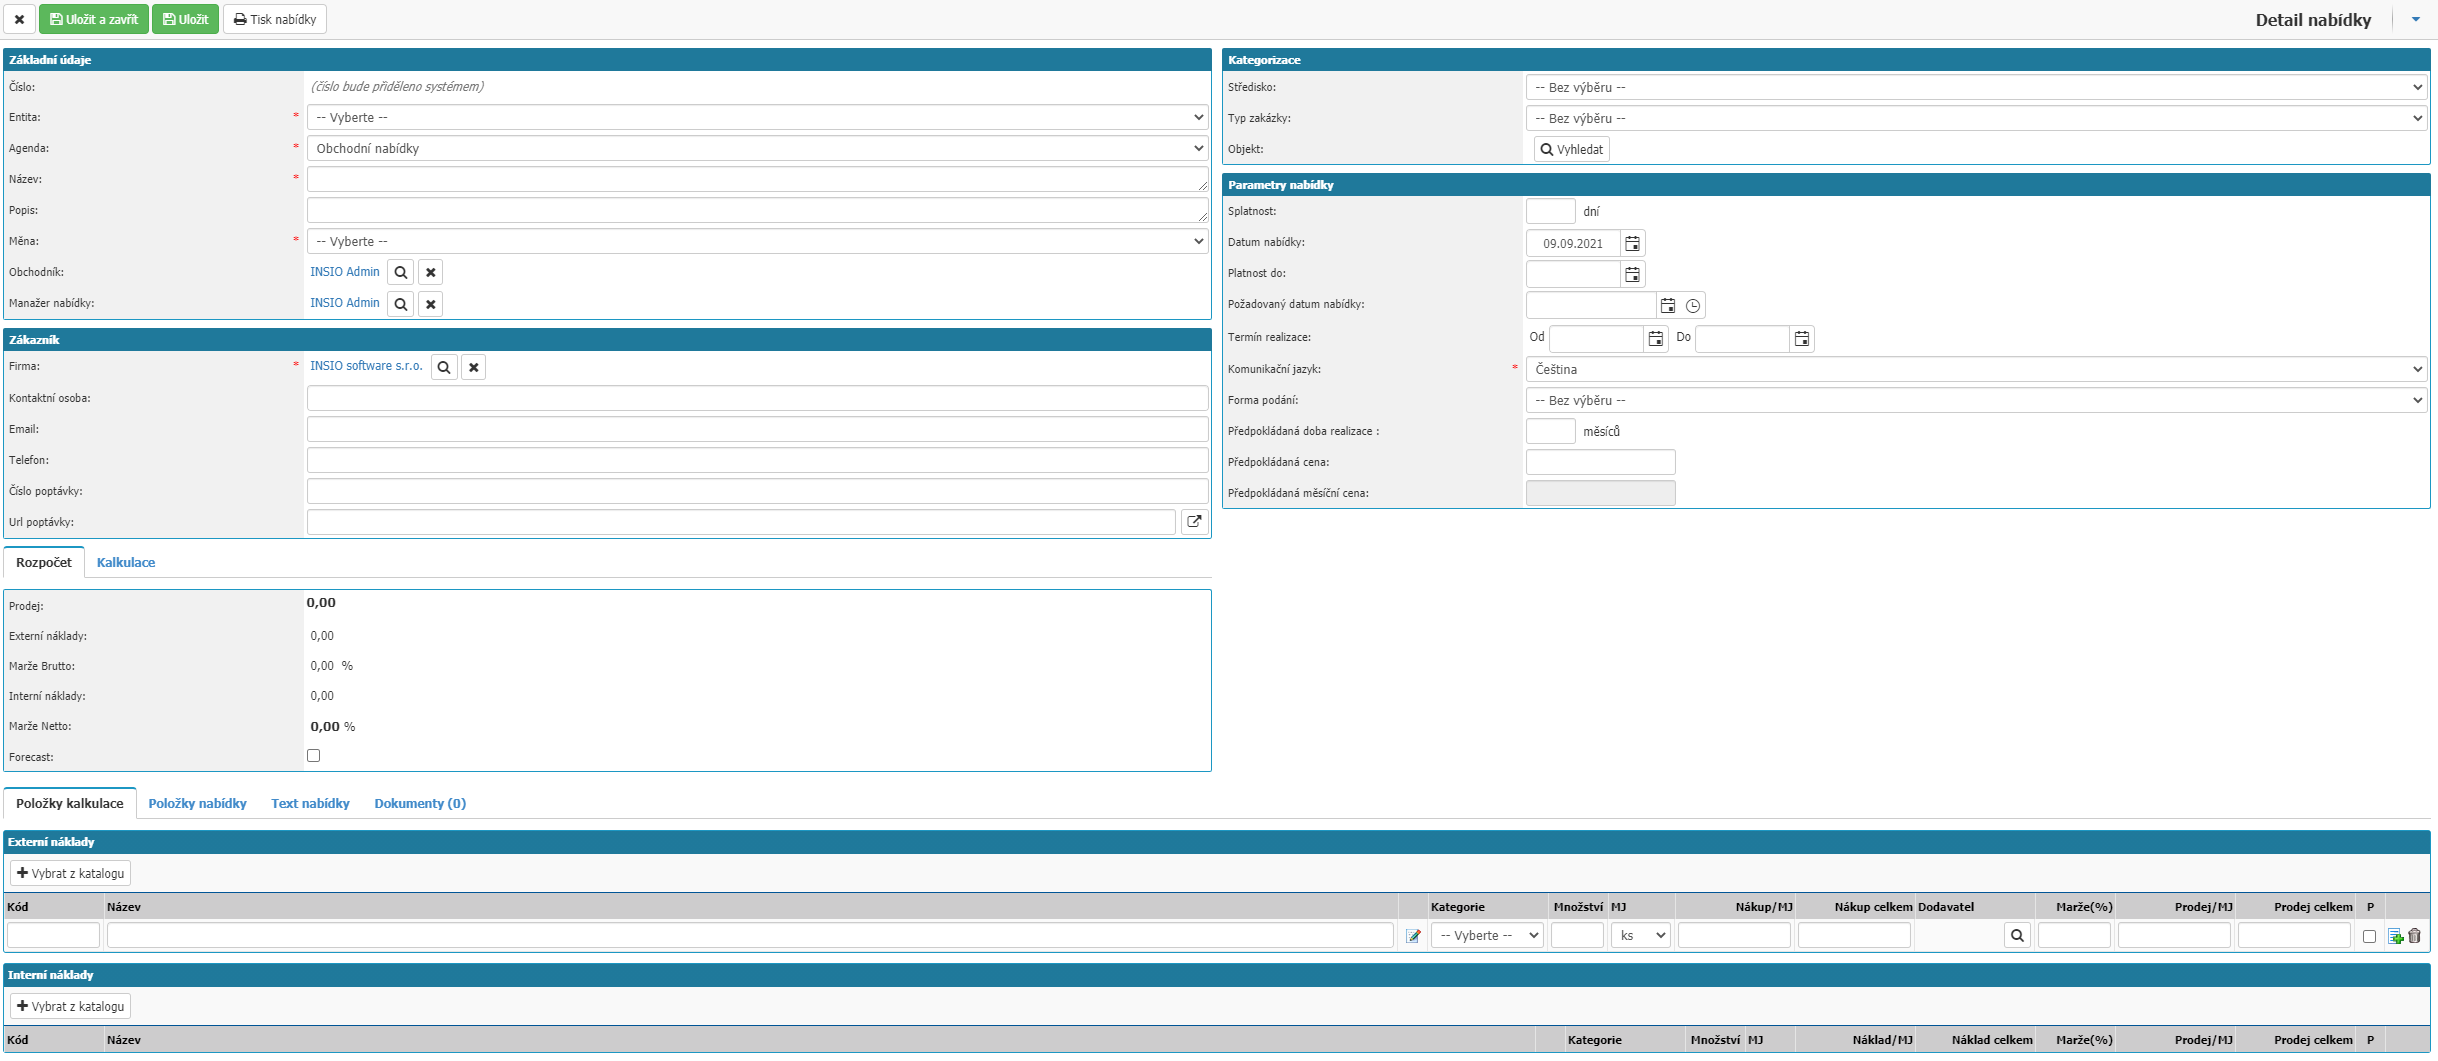
To open a Menu, left-click on the Menu name.
Invoicing
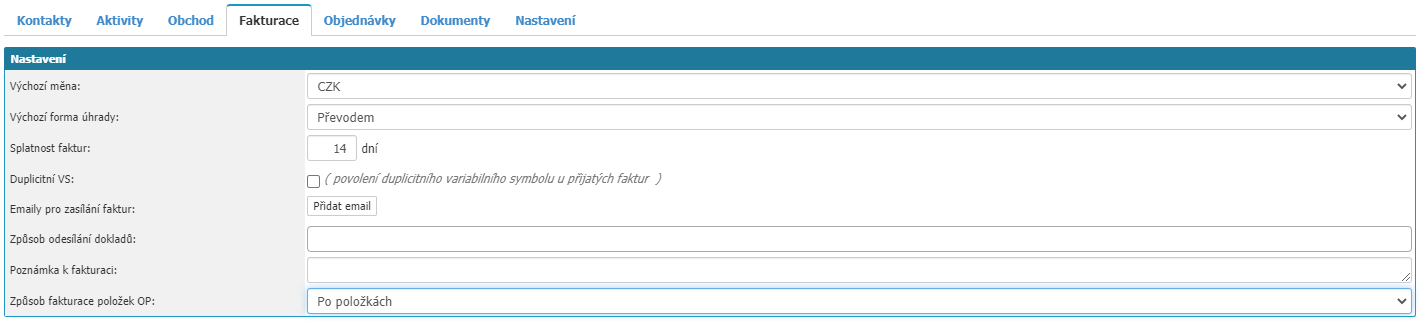
In the tab you can define basic attributes for invoicing which the application will then add automatically for invoicing to the partner.
- Default currency - set the default currency for invoicing to the partner.
- Default form of payment - set the default form of payment for the partner.
- Invoice due date - set the invoice due date for the partner.
- Duplicate VS - this option allows you to have multiple invoices with the same variable symbol at the partner.
- Invoice sending emails - option to define the email address to which invoices should be sent for a given partner.
- Method of sending invoices - option to set the value of how the invoices should be sent.
- Invoicing note - option to set the invoicing note for the partner.
- Billing method for OP items - option to select the billing method for Business Case items, option to select By item, By helpdesk request, By object, By order.
Orders

In the tab you can set up email addresses for sending orders.
Documents

In the tab you have the option to add documents at the partner. The document list is divided into columns:
- Type - type of document, can be Product sheets, Promotional materials and Listing.
- Description - the name of the file that has been uploaded.
- Date of upload - the date the document was uploaded.
- Uploaded - the user who uploaded the document.
- Change Date - the date the document was changed.
- Changed - the user who changed the document.
- Ver - the version of the document.
- Open Attachment option - opens the document preview or starts downloading the file.
- Pupil option - opens information about the document.
- Invalid - option to indicate that the document is no longer valid.
- Delete - option to remove the document from the partner's application.
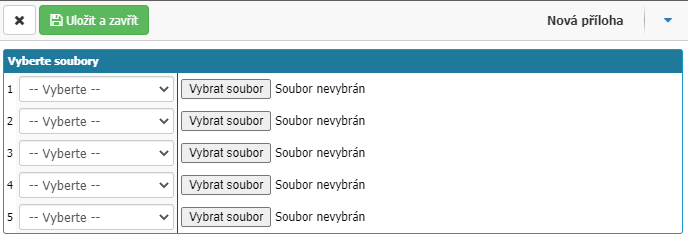
To add a new document, select the Add Document option to open the Add Document window.
Settings

In the tab you can set whether it is an Internal entity and Allow duplicate ID. In the case of an Internal Entity, you can set whether the Internal Entity can be used in the HR and Contracts modules and set the Internal Entity Signature Pattern.
Top bar

At the top of the Partner Detail you will find options for cancelling changes in settings - Cross, for saving changes in settings - Save, for deleting a partner from the application - Delete and for updating data in the ARES database - Update data from ARES.