- Print
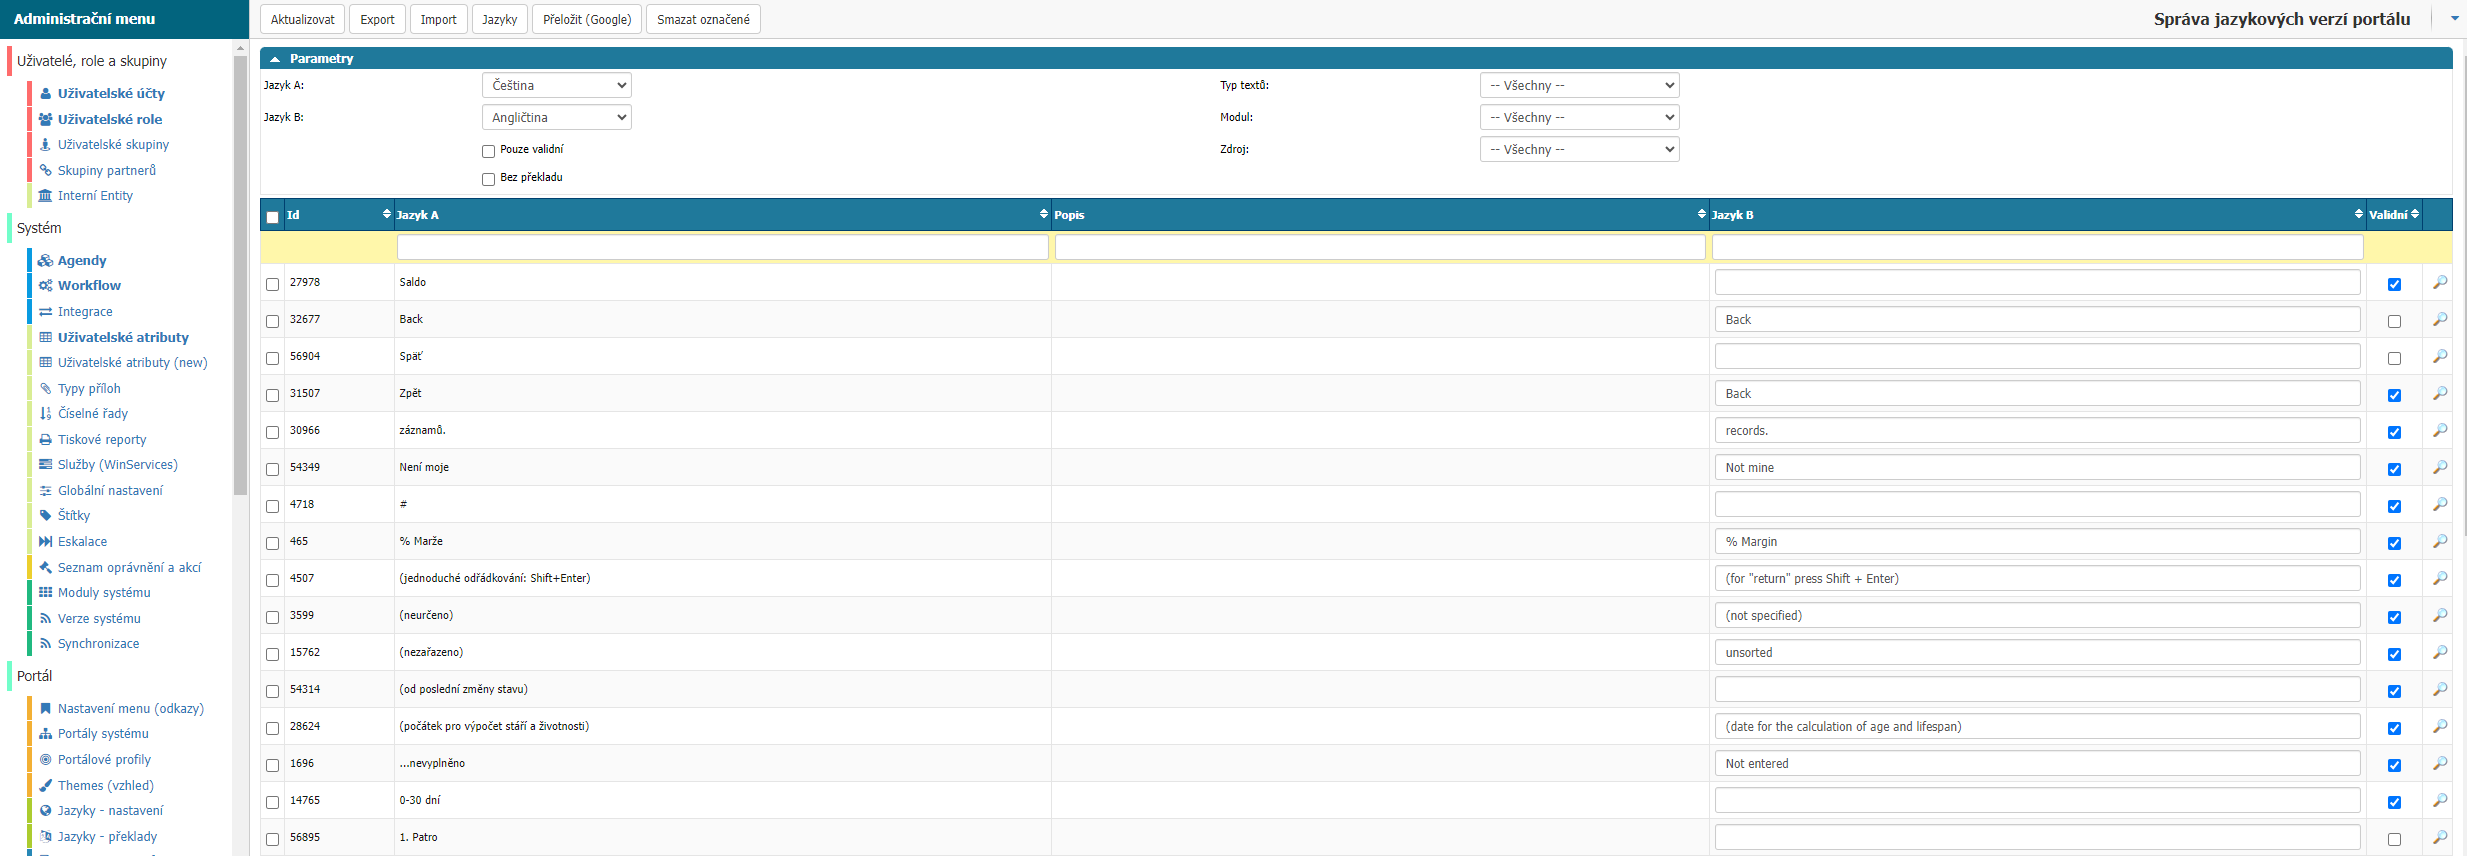
The application allows translation of almost all visible texts. Translations and its management and settings can be found in Administration menu > Portal > Languages - translations, or you can bring up the overview in the left menu, it is the form sys_slovnik_prehled.aspx.

The generation of text for translation is automatic when the text is viewed by a user. The basic language of the application is English, so all new texts such as dial values created by users are written in that language and then available for translation.
For example, if we want to have an instance only in Slovak, so all users will have the language set to Slovak, then we just need to translate all existing texts from Czech to Slovak, and we can write new texts in Slovak. The new texts will be written in Czech, but since there is no translation for them, they will be used in all language versions, including Slovak automatically.
But if we would like every user to be able to choose which language he wants to use, then all texts must be translated and if new text is created, such as new entries in dials, then these texts must be written in Czech (the language the user has set) and then translated for other languages.
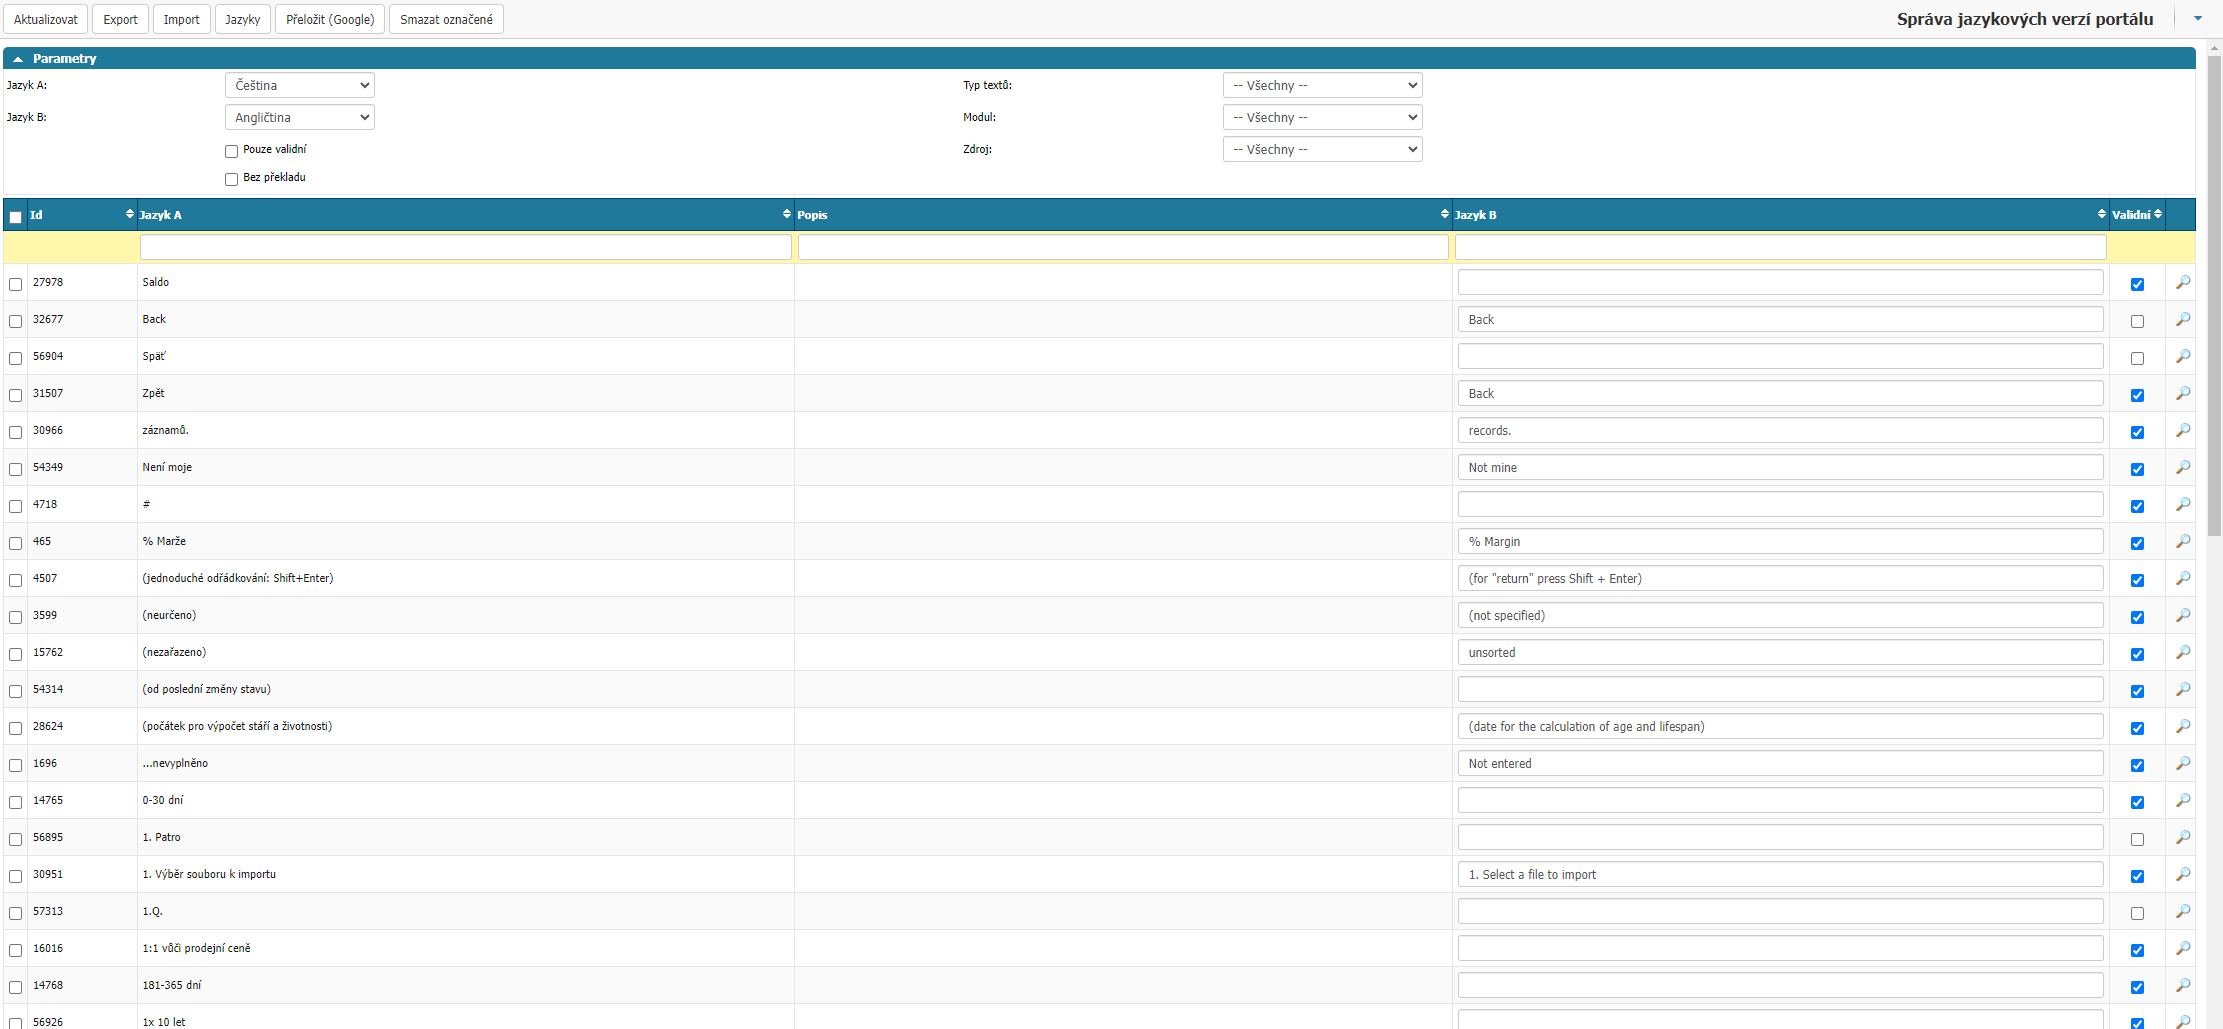
The translation overview shows all texts that are translated or to be translated in the dictionary. The display is always as Language A (the default language currently the application works only with English) and Language B (the language of translations). Translations must be valid for the translation language to work with them. In case the translation is missing, the application will not translate the text but will use the default text hence Czech.

In the overview we can select which language will be displayed as Language B, i.e. the language we want to translate into. If the language is not available in the selection, it is necessary to first set the language in the application and have it active, via the Languages option found in the header of the overview.
Here we can filter by:

- Valid only - the option filters only translations that are marked as valid
- No translation - the option filters all records where there is no translation in the currently selected Language B
- Text Type - option to filter by text type
- Module - option to filter text by module affiliation
- Source - option to filter text by form affiliation
Or by columns:

- Language A - search for the expression we want to translate
- Description - according to the description, if we have filled in the translation
- Language B - according to the translation in the currently selected language B
Using the magnifying glass next to the translation we can open the detail of the text and all its translations. Here we can also find the option to write the description or meaning of the text.
In the header of the overview we can find the options

Update
option updates the list of texts to be translated.
Export
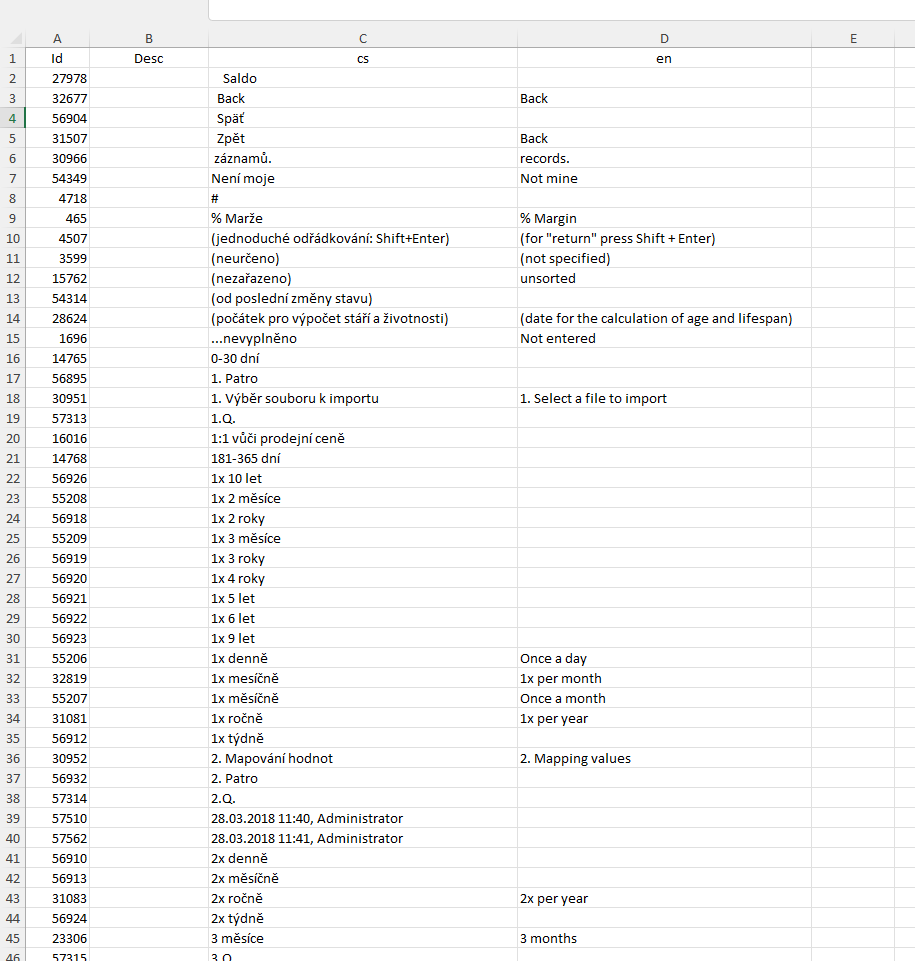
exports all filtered texts and translations to an xlsx file.

Import
via the import option we can import translations into the application from an xlsx file. When importing, we need to keep the order of the columns in the xlsx file the same as generated in the xlsx file via the export option. Furthermore, the texts in the application are bound to an Id hence the given value and the value in the Language A column must be preserved for us to import the value in the Language B column correctly.

Languages
opens the language settings window in the application.

Translate (Google)
already an obsolete feature of the app.
Delete marked
This option deletes the translations that we have marked.
Permissions TranslationsAdmin
In the application we can also find TranslationsAdmin permissions that can be set for selected users.

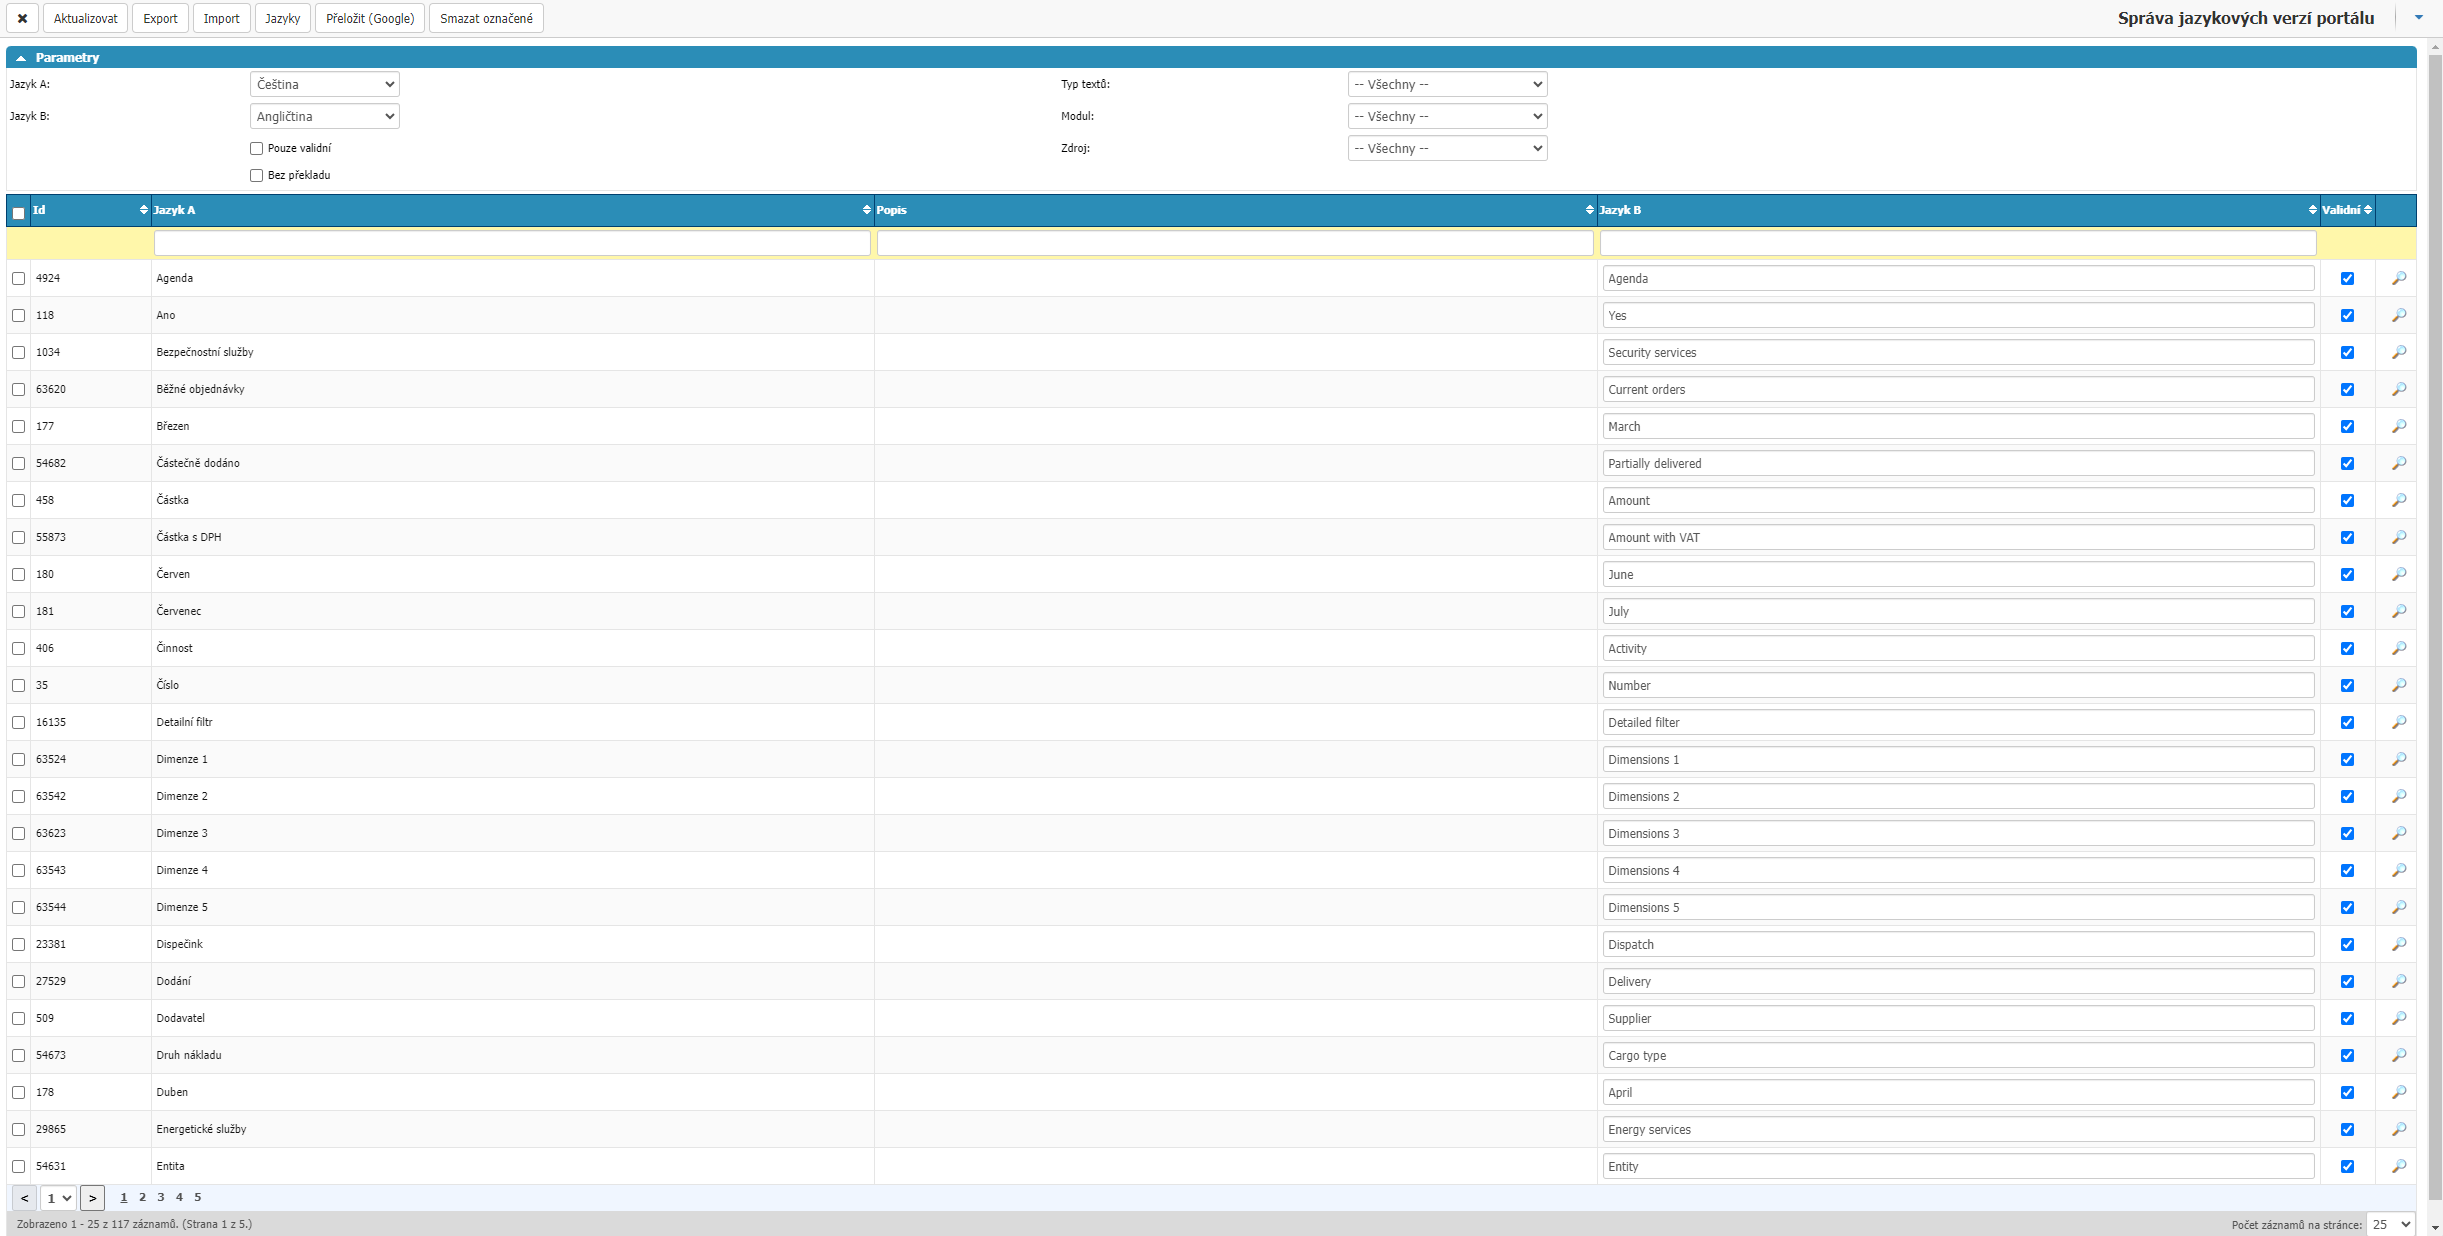
Users can then open the translation window directly in the details and reports.

Here you can find all the phrases to translate from the selected detail or overview.


