
The User Accounts section is used to manage user accounts. Here you will find options for creating new accounts and options for managing existing ones. In order for someone to have access to the system, they must have a user account in place. No one can log into the system without a user account.
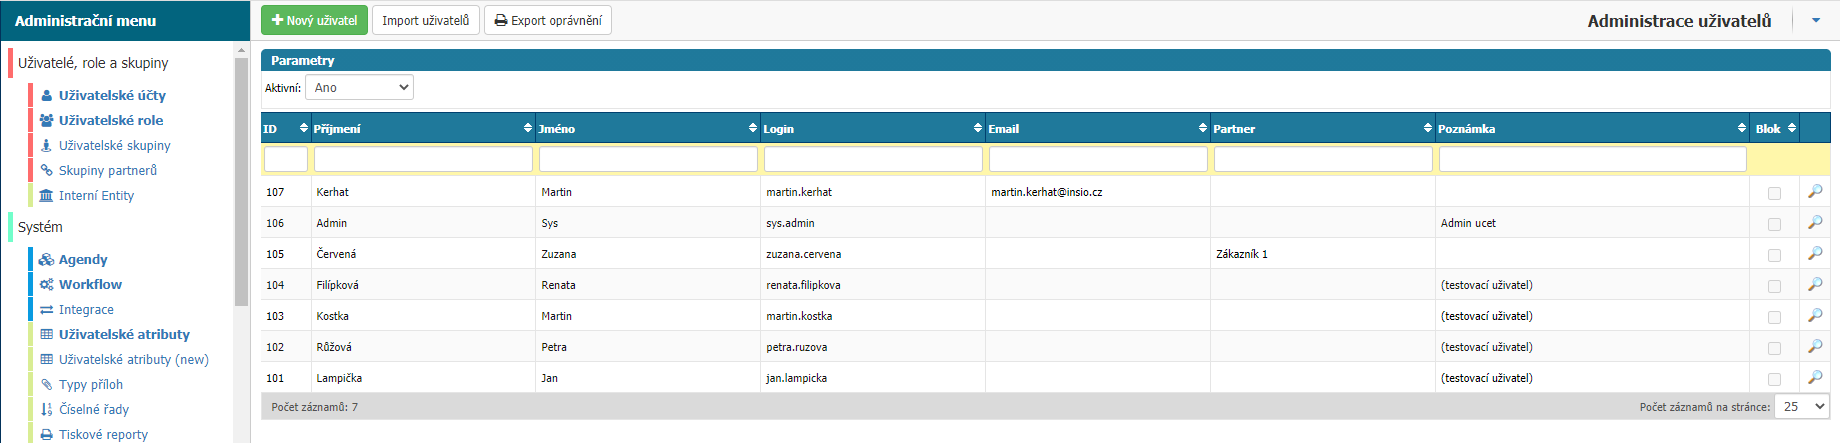
New user
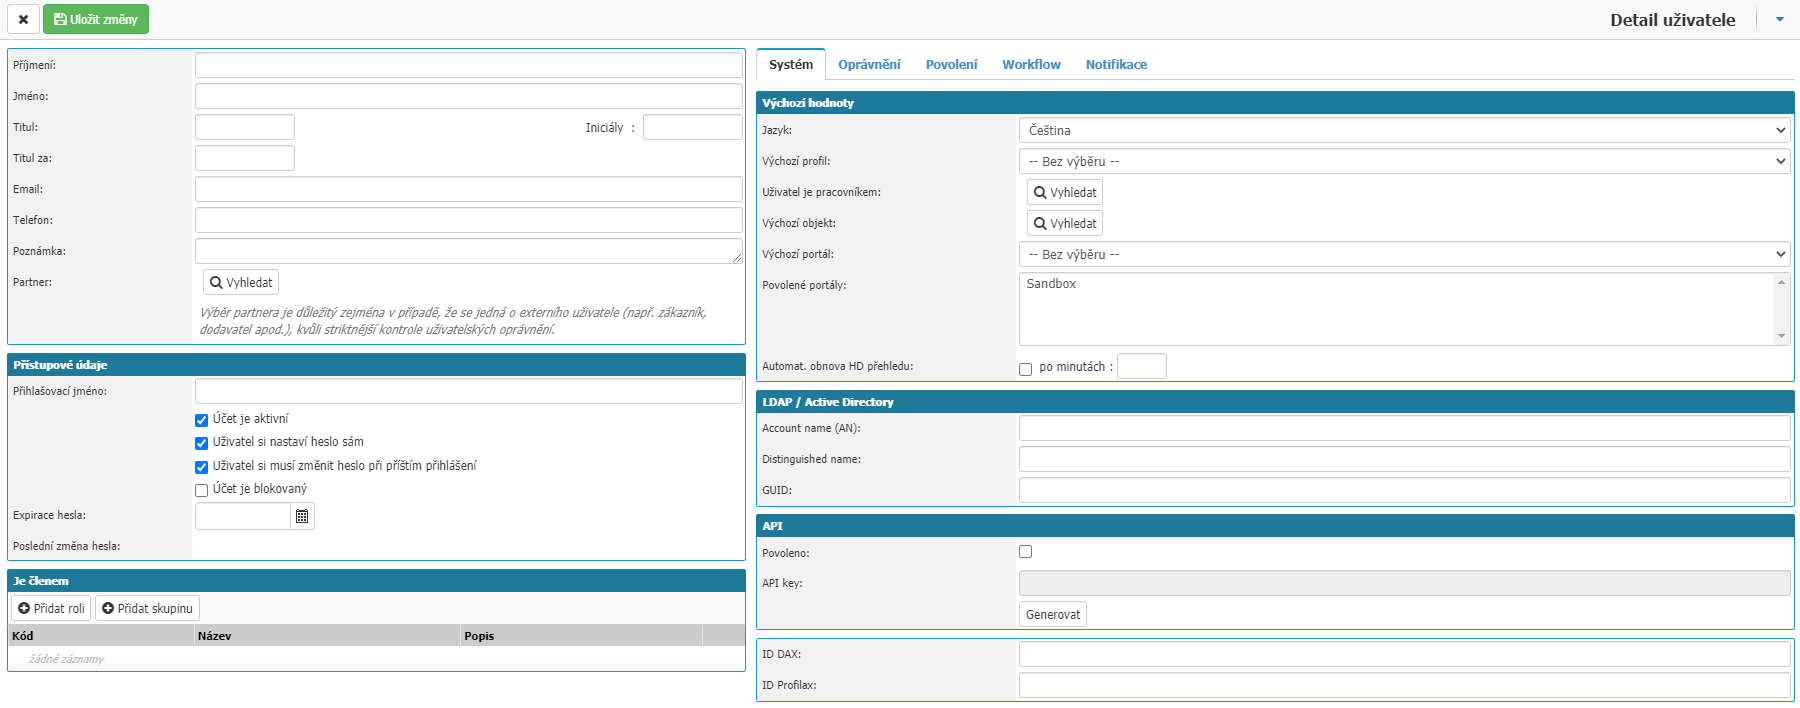
The option opens a dialog box with settings for creating a new user.
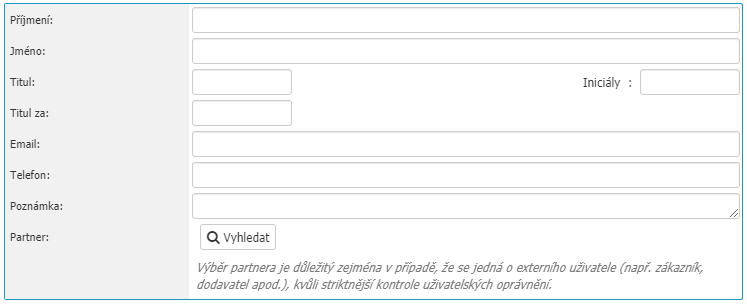
Basic user data
- Surname - last name of the user. Required.
- First name - user's first name. Required.
- Title - the user's title.
- Initials - option to enter the user's initials.
- Title after - the user's title after the name.
- Email - the user's email.
- Phone - the user's phone.
- Note - option to write a note.
- Partner - option to assign a partner to the user.
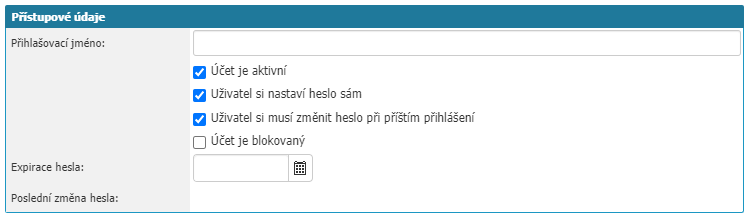
Access data
- Login name - the username under which the user will log into the system. The system generates the login name automatically from the Last Name and First Name values. Can be manually overwritten. Mandatory.
- Account is active - option for setting account activity. If the historical user has links to documents or workflow in the system, then it is not possible to delete the user from the system. In such cases, the account activity option is used. If you uncheck it, the user will no longer be able to log into the system.
- User sets own password - this option will ensure that the user will have to set a password the first time they log into the system. If you deselect this option, the password definition box will be displayed.
- User must change password at next login - this option prompts the user to change the password at the next login.
- Account is blocked - option to block the account.
- Password expiration - option to define until when the password will be valid.
- Last password change - record when the user last changed their password.
Member
Used to add Roles and Groups to a user. If you select a role or group here, the user inherits its permissions and permissions. You can remove roles and groups from a user via the trash can icon on the right side of the list.

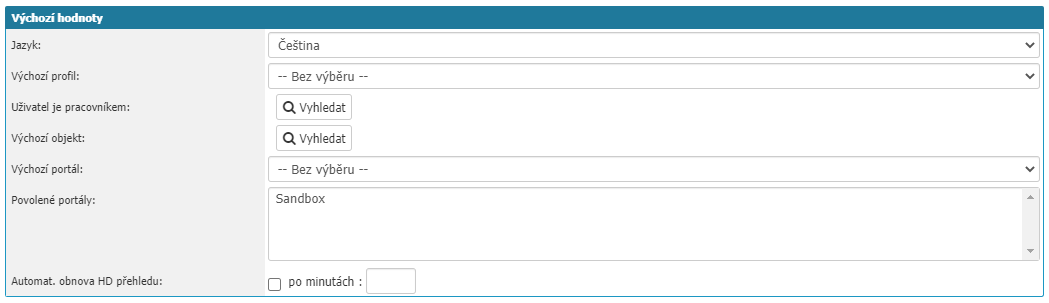
System tab
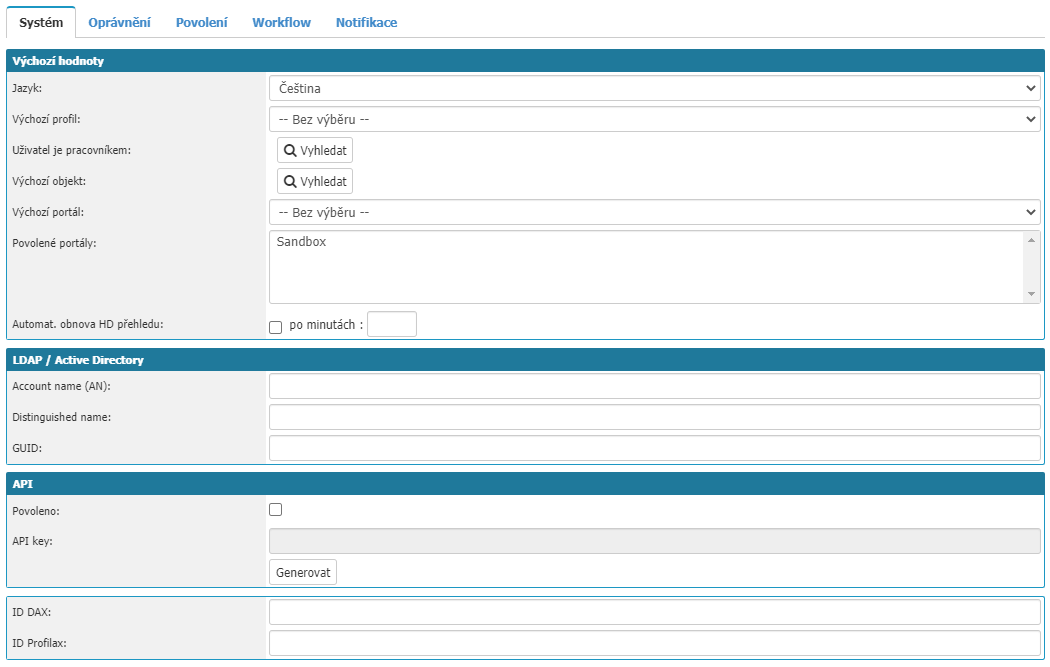
Default values
- Language - option to define the default language of the user.
- Default profile - select the default profile for the user. If you do not select a value, it takes the settings from System Portals.
- User is a worker - option to assign a worker to a user if they are the same person.
- Default object - option to assign an object to a user. If you assign an object to a user, the object will be pre-selected for that user when working in the system.
- Default Portal - option to define a default portal
- Permitted portals - list of permitted user portals.
- Auto. HD Overview Refresh - option allows to set automatic refresh of the Helpdesk overview every X minutes.
LDAP / Active Directory
The section for setting up the linking of the account to Active Directory accounts.

API
Used to write a record to the application via the API to be written under the given user.

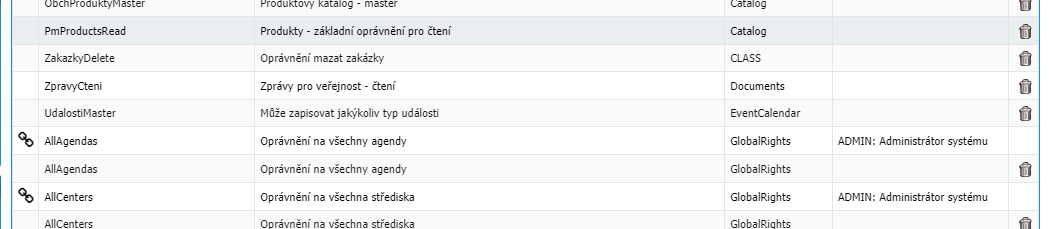
Permissions tab
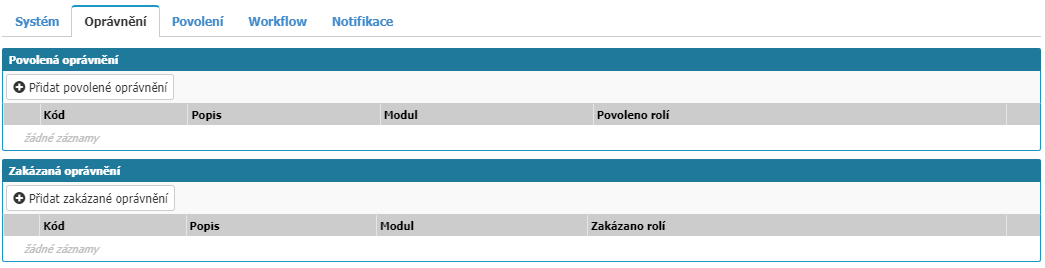
Here you will find a list of allowed and denied user permissions. Inherited permissions from roles and groups are indicated by the chain icon on the left of the list and in the Enabled Roles column you can see the name of the role/group from which the permission is inherited. Use the trash icon to remove permissions from the list of allowed/disallowed permissions for a user.
When you select Add Enabled/Disabled permissions, a dialog box appears for selecting permissions.
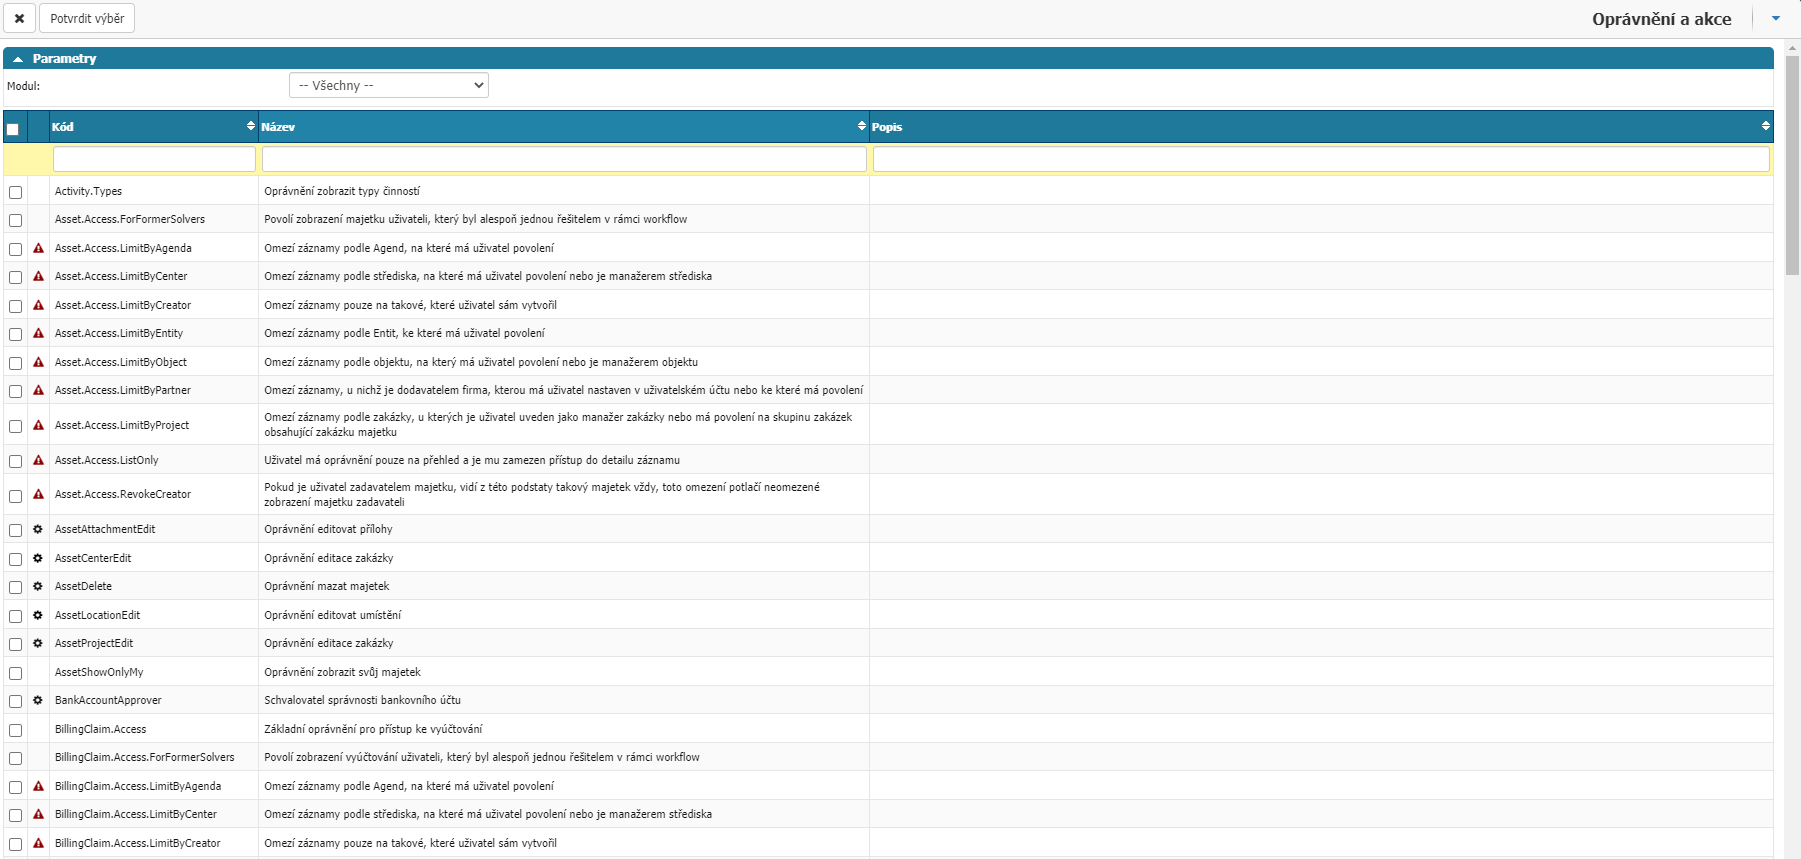
Here you can filter via the Module option.

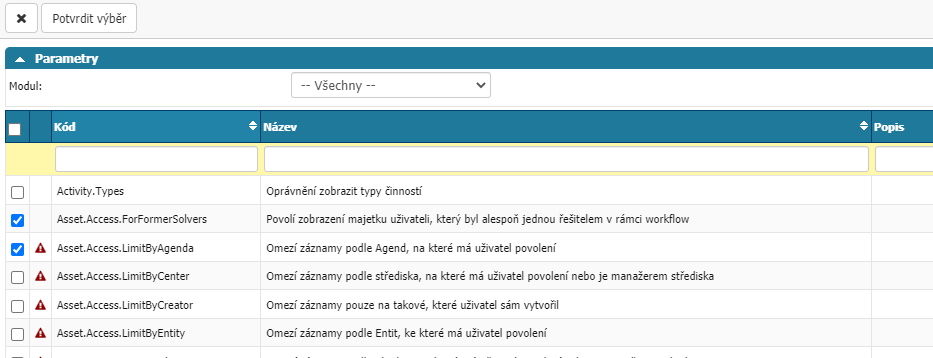
You can select individual permissions by selecting them in the list on the left, and then confirm your selection by clicking Confirm Selection at the top.
Permissions tab

Here you will find a list of user enabled Agents, Centers, Objects, Technologies, Partners and Other.
Agendas

Add via the Add agenda option, where you will then be shown a list of available agendas for selection.
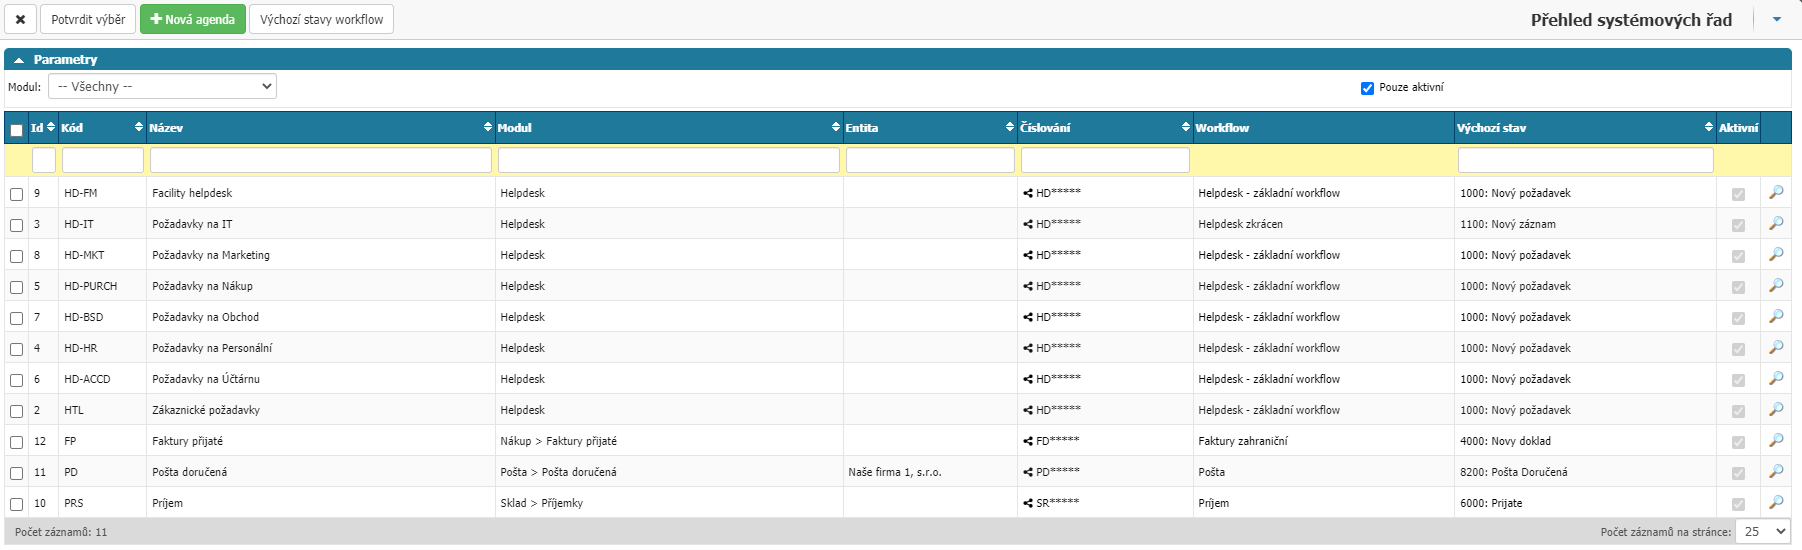
Select the agendas by checking the checkbox on the left of the list for each agenda. You can filter by Module and whether you want to search only for active agendas. Confirm the selection by clicking the Confirm selection button at the top of the dialog. You will also find the option to close the Agenda Selection via the cross option, all changes will be lost. Furthermore the options New agenda and Default workflow states.
Centres

Add via the Add resort option, which will then show you a list of available resorts for selection.

Select the centres by ticking the checkbox on the left of the list for each centre. You can filter by Entity and whether you want to search only active agendas. Confirm the selection by clicking the Confirm selection button at the top of the dialog box. You will also find the option to close the Centre Selection via the cross option, all changes will be lost. Furthermore the options New centre and Centre types.
Objects

Add via the Add Objects option, which will then show you a list of available objects for selection.
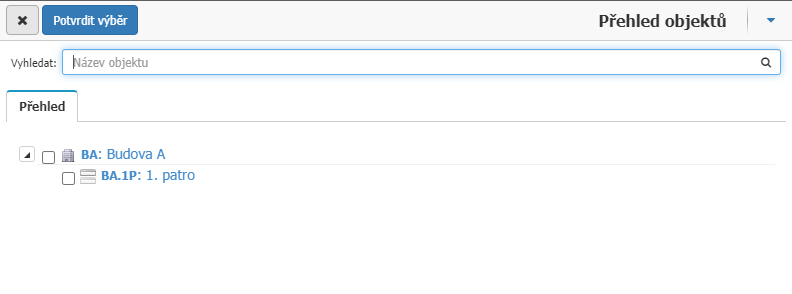
Select objects by checking the checkbox on the left of the list for each object. You can filter the name of the objects. Confirm the selection by clicking the Confirm selection button at the top of the dialog box. You will also find the option to close the Object Selection via the cross option, all changes will be lost.
Technology

Add via the Add Technology option, which will then show you a list of available technologies for selection.
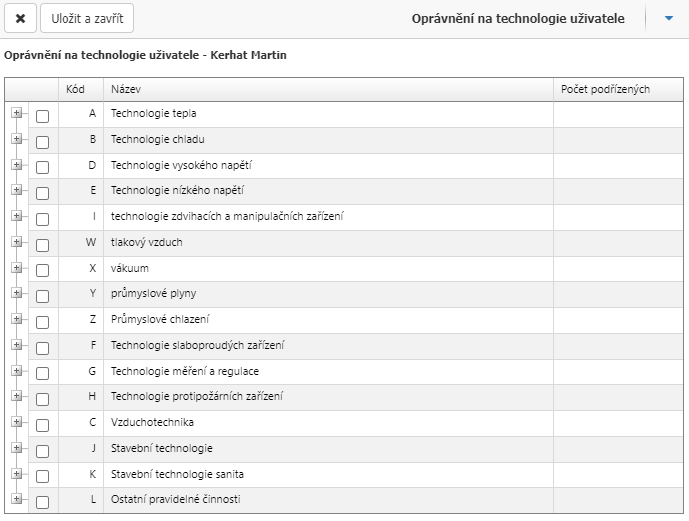
Select the technology by checking the checkbox on the left of the list for each technology. Confirm the selection by clicking Save and Close at the top of the dialog box. You will also find the option to close the Object Selection via the cross option, all changes will be lost.
Partners

add via the Add partners option, which will then show you a list of available partners for selection.
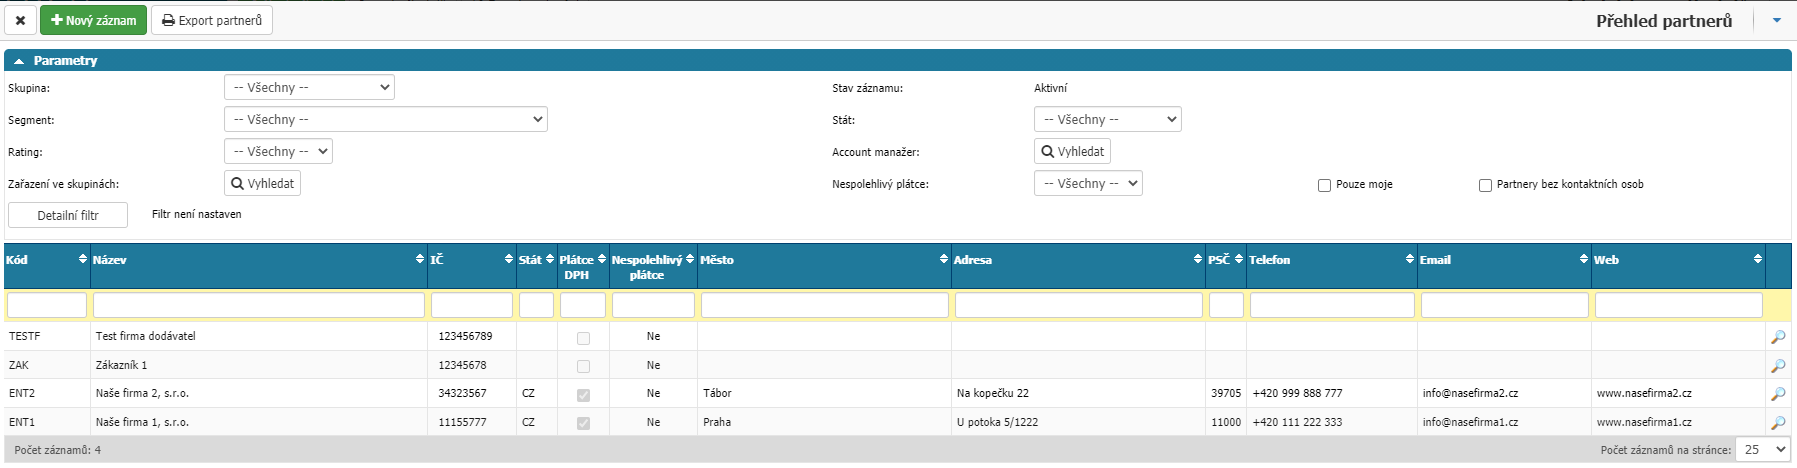
To select a Partner, click on the name of a specific Partner in the list. The selection is saved immediately and the partner list is closed. You can filter using the options Group, Segment, Rating, Group Classification, State, Account Manager, Unreliable Payer, Only mine, Partners without contact persons and Detail filter. At the top, you will find the option to close the Partner Selection via the Cross, New Record and Export Partners options.
Other

Setting permissions for values in user attributes of the dump box type.
Workflow tab
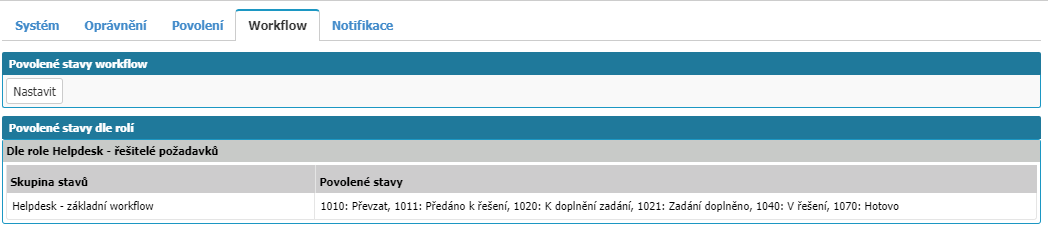
In order for a user to make a state change in any form (or module) that supports workflow (Helpdesk request, contract, invoice, etc.), they must have permission to that state. Permissions for workflow states are set in the Workflow tab.
The workflow tab is divided into two tables, where the first Allowed workflow states displays the individually allowed states for the user. The second table, Allowed States by Role, then displays the states that the user has inherited from the roles and groups of which he or she is a member.
In the Allowed workflow states section, you can add individual states via the Set option which opens a dialog box for selecting a workflow state.
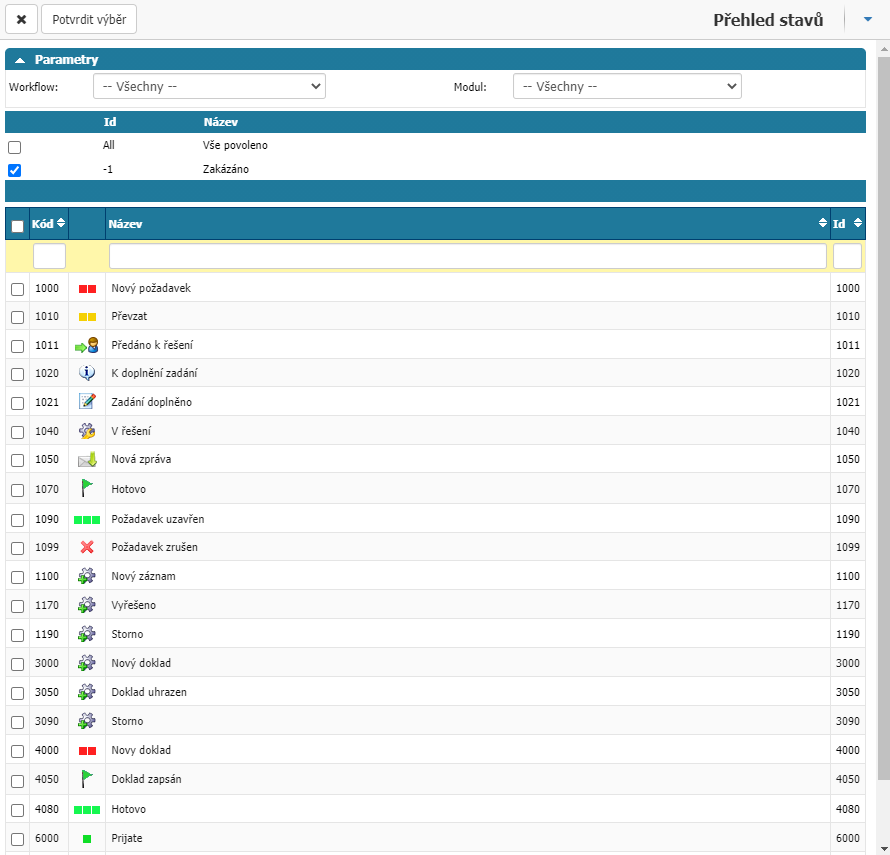
Select the workflow states by checking the checkbox on the left of the list for each state. Confirm the selection by clicking the Confirm selection button at the top of the dialog box. You can filter by Code, Name, ID, Workflow, Module. You will also find the option to close the Object Selection via the cross option, all changes will be lost. You can enable or disable all workflow states with a single selection via the All Enabled and Disabled checkboxes.
Notifications tab

The Notifications tab lists all the notifications a user can receive. Of course, depending on all the conditions set in the notifications (restrictions on agenda, workflow states, objects, etc.).
Again, there is a division between notifications of the user and notifications inherited from roles and groups of which the user is a member.
You can create a new notification with a pre-populated user via the Add Notification option.
Additional options in User Detail

At the top, under User Detail, after saving a new user or an existing user, you will find additional options for administration and settings.
- Cross - closes the User Detail window and any unsaved changes will be lost.
- Save Changes - saves the changes made to the settings.
- New User - option to create a new user directly from the User Detail. All unsaved changes will be lost.
- Change Password - option to change password for administrator directly from User Detail.
- Delete - option to delete a user that has no association in the system.
Other
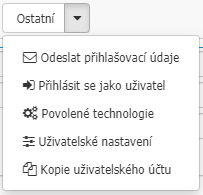
- Send login details - sends the user to the email they have set to change their password. The email is generated from a template.
- Log in as user - option for administrator to log in as selected user, option to test functionality of settings and simulate errors from user view.
- Enabled Technologies - option to enable technologies for the user as well as via the Enabled > Technologies tab.
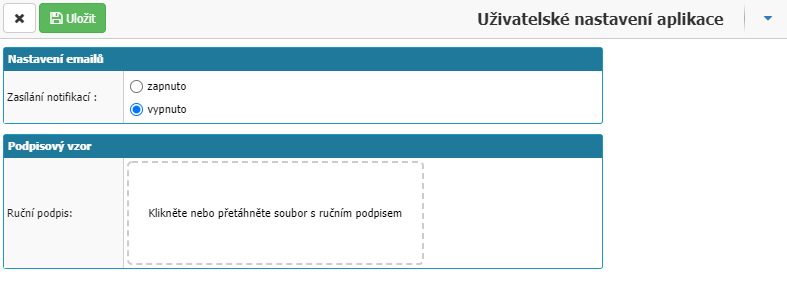
- User Settings - opens the Notification Sending settings, On/Off options, and the option to insert a Manual Signature to the user.
- User Account Copy - option for copying user settings. When selected, it will show a list of users in the system from which you can copy settings.